Sunday, December 29, 2013

Arugula-Basil Pesto Sauce

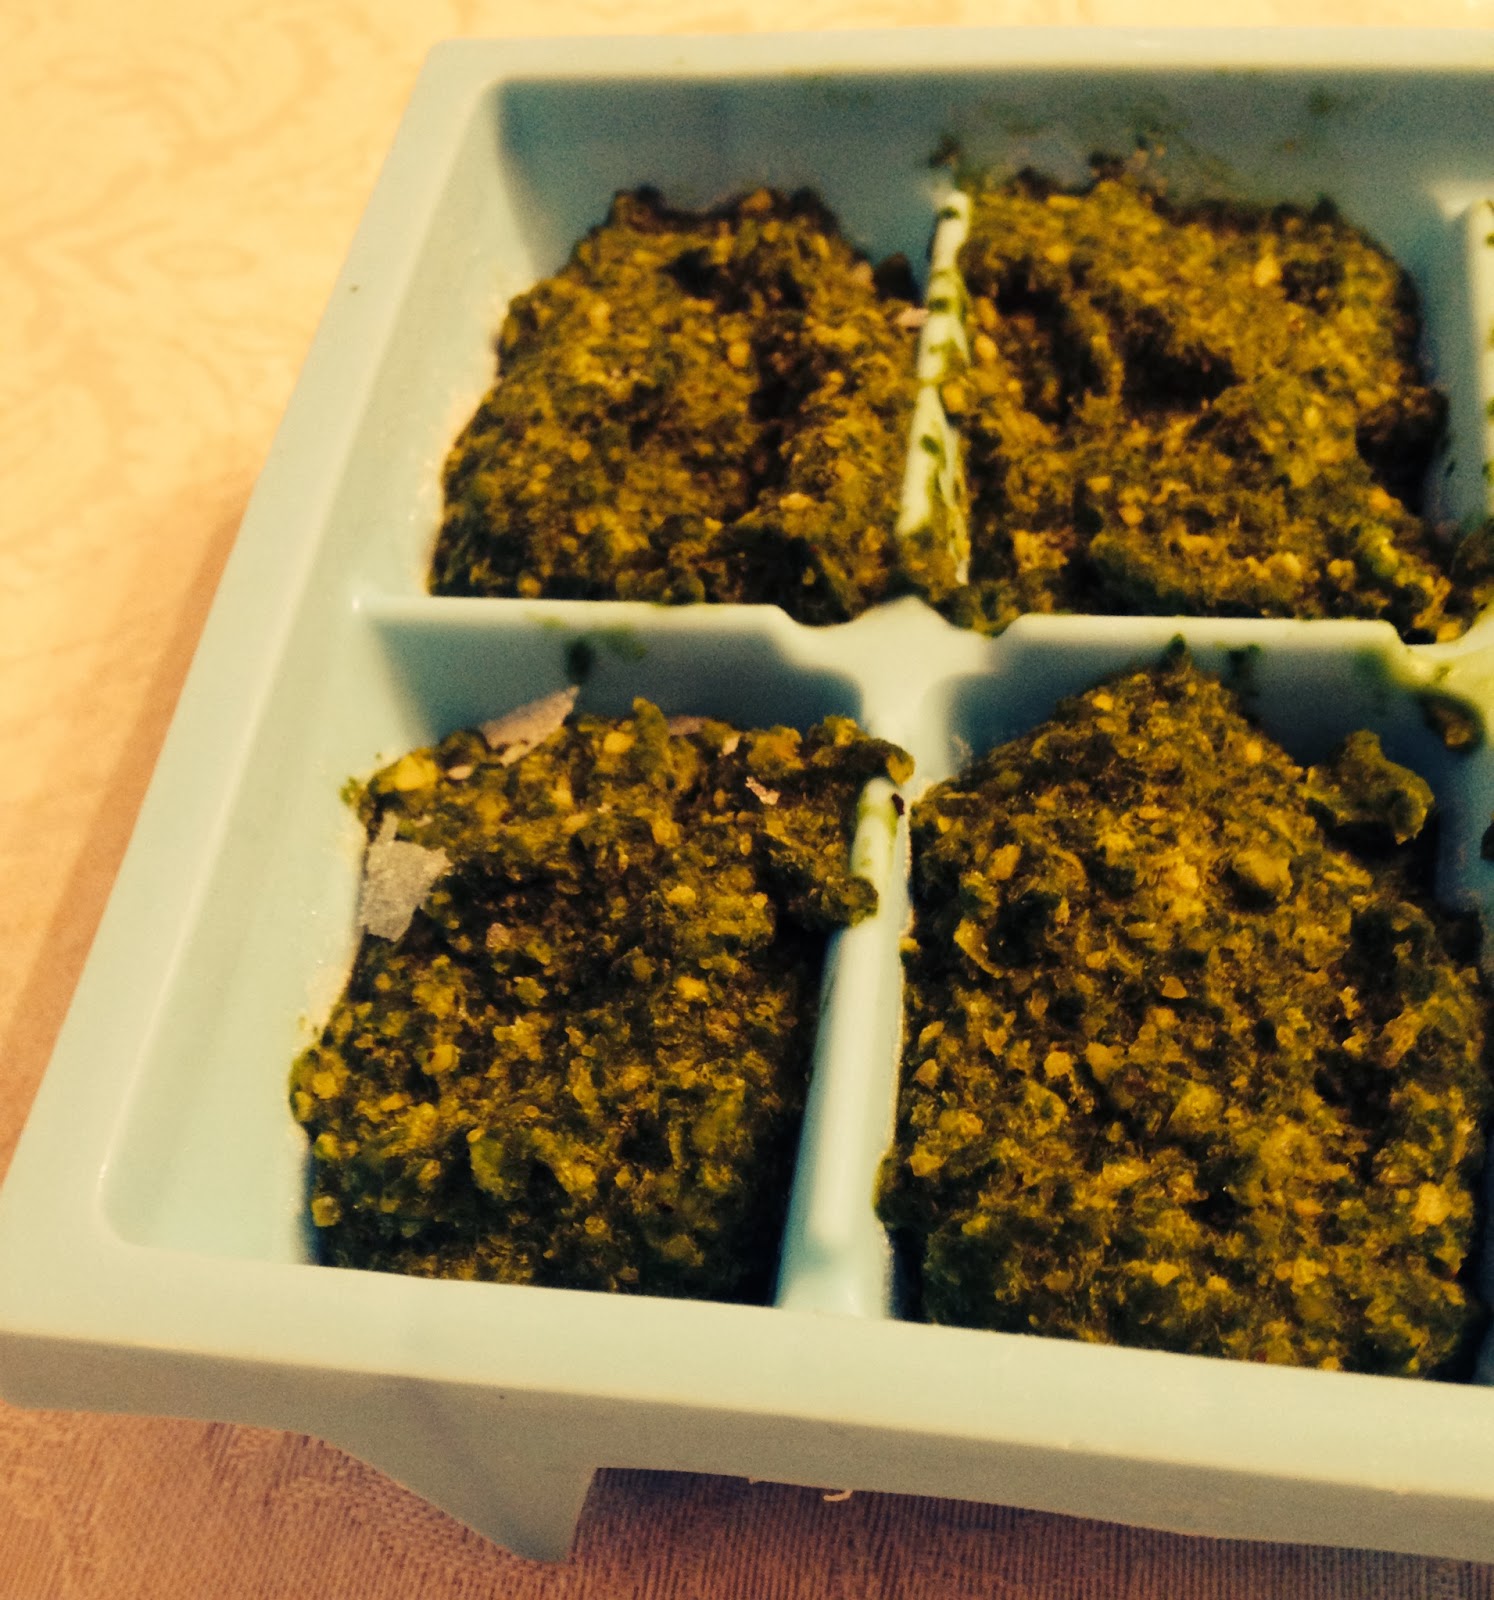
Store your extra pesto in ice cubes!
Hey everybody! I hope you're all enjoying the holiday season. Here's a simple recipe for Arugula Basil Pesto Sauce that anyone can make! It's super simple and is so versatile. I use it as a pasta sauce, spread it over grilled salmon, stuff chicken with it, use it as a ravioli filling, and mix it with my Cauliflower Cream Sauce to make a creamy pesto sauce. The best part about pesto is it works so well for school lunches. Make a large batch and store the pesto in an ice cube tray for later! Then, defrost a pesto cube, stir it into some whole-wheat pasta, add some fresh tomatoes, and put it in a Thermos for a simple lunch. The possibilities are endless. Share your recreations with me using #teenscancooktoo on Facebook, Instagram and Twitter!
Gluten-free ravioli stuffed with Arugula-Basil Pesto
and smothered in Cauliflower Cream Sauce

Arugula-Basil Pesto Sauce
Makes about 2 cups


Ingredients
6 oz fresh basil leaves, stems removed
3 cups loosely-packed, pre-washed baby arugula 
The juice and zest of one lemon
3 small garlic cloves, peeled
2/3 cup pine nuts
½ cup freshly grated parmesan cheese
Salt and pepper, to taste
Extra-virgin olive oil 

Preparation
1. Combine all the ingredients in a food processor. Remove the plastic piece from the top of the lid before starting. Turn the food processor on and drizzle in about 2 tbsp of the olive oil. If the ingredients aren't processing together smoothly, stop the machine, scrape down the sides of the food processor, and pulse again while adding more olive oil. The pesto will be finished once it has a fairly smooth texture and there aren't any lumps of any ingredient. Save and freeze, or serve over pasta, chicken, fish, gnocchi, ravioli, and more! 

Tip: the more olive oil you add, the thinner the sauce will be. If you want a ravioli filling or something to stuff chicken with, add less olive oil. If you're shooting for a pasta sauce, add more olive oil. You may even want to add a tablespoon of water if you want it really thin. 

That's all for today! I hope you like this simple recipe. Please try it out! Follow Teens Can Cook, Too at all of our social media handles below. 

Twitter: 
https://twitter.com/teenscancooktoo (@teenscancooktoo)
Instagram: http://instagram.com/teenscancooktoo (@teenscancooktoo)
Facebook: https://www.facebook.com/pages/Teens-Can-Cook-Too/113579778813832
YouTube: http://www.youtube.com/channel/UCdiKFPsBoLhYw2W42P7LvKQ  

Happy New Year, and stay healthy!
- Madeline 

Monday, December 23, 2013

Christmas Recipes

Hey, everybody! First, I'd like to apologize for this post being a day late. I saw Catching Fire yesterday and had a busy afternoon before that, so I didn't have the time to upload my post. 

Today, I have two delicious recipes that you could make for your Christmas dinner. The first is Vibrant Green Soup, which is perfect for Christmas because of its bright green color. This side dish uses lots of the classic green vegetables, and is slightly reminiscent of both broccoli cheddar soup and pea soup, but with a limey twist! You can change out the lime and cilantro for lemon and basil for a more Italian taste, which may be what you prefer for a Christmas dinner. Also, I used chicken broth because I'm allergic to carrots, and I can't find any vegetable broth that doesn't use carrots, but it's up to you to use either type of broth! Vegetable broth will make it vegetarian. If you're a vegan, you can easily omit the garnish of cheddar cheese. Enjoy this soup!

I wasn't kidding when I said it was vibrant.
Vibrant Green Soup
Serves 4 - 5 

Ingredients

1½ cups broccoli florets and diced stems
1 medium-sized head of cauliflower, cut into florets
1½ cups frozen peas
2 garlic cloves, peeled
1 quart chicken or vegetable broth
A few dashes of jalapeño hot sauce (optional) 
2 cups pre-washed baby spinach
1 cup fresh cilantro
The juice of one lime
1 tbsp extra-virgin olive oil 
Salt and pepper, to taste
1 tbsp of shredded cheddar cheese per serving (optional) 

Preparation

1. Combine the broccoli, cauliflower, frozen peas, and garlic in a large pot. Add the broth, hot sauce, salt and pepper. If the If the broth does not completely cover the vegetables, add water until the vegetables are just barely covered. Cover and heat on medium-high until the broth is bubbling and the vegetables. Note: if the broccoli is of a dark green hue, it is overcooked. Look for a vibrant, deep green and the tenderness of the veggies. Remove from heat. 

2. Using a slotted spoon,, transfer the veggies into a blender, food processor, or Vita-Mix. Do your best with the peas! Then, using a ladle, transfer about 3 cups of the broth from the pot to the blender/food processor/Vita-Mix. Add the spinach, cilantro, lime juice, and olive oil. Remove the plastic piece from the lid that traps the contents from flying out of the machine before you blend. This way, the steam can escape and your device will not be damaged. Cover the hole lightly with your hand to prevent anything from flying out of the top. Blend on a high speed, until the consistency is very smooth and there aren't any vegetable chunks. 


3. Pour or spoon the soup into individual serving bowls. Top each serving with cheese (optional). Enjoy! 


The next recipe isn't a full meal, but rather a simple sauce that is useful to have on hand during the holidays. This is my Cauliflower Cream Sauce. It's perfect for pasta, for pouring over roasted chicken breats,and more. You could even use it for a healthy rendition of Scalloped Potatoes. While it does use milk, it is much healthier than a heavy cream sauce.  No matter what you use, I personally think it tastes better than traditional cream sauces. I've even tricked relatives into thinking it was real cream sauce before. So seriously, it's good. 

You can always substitute almond milk, soy milk, or another non-dairy alternative.

Cauliflower Cream Sauce

Makes about 2 cups 

Ingredients

7 oz cauliflower florets
1 cup organic 2% milk
2 small garlic cloves, peeled and halved
1½ tbsp chopped fresh rosemary 
½ tsp dried oregano
2 tbsp RBST-free parmesan cheese, grated 
Salt and pepper, to taste

Preparation

1. Put the cauliflower, milk, and garlic in a medium saucepan. Cover and boil for 15 minutes, stirring occasionally so the milk doesn't scald. Remove from heat.

2. Transfer to a food processor, blender or Vita-Mix. Add the remaining ingredients and process on a medium-high speed, until smooth. Remove the plastic piece from the lid that traps the contents from flying out of the machine before you blend. This way, the steam can escape and your device will not be damaged. Remove the plastic piece from the lid that traps the contents from flying out of the machine before you blend. This way, the steam can escape and your device will not be damaged. Adjust seasonings and serve over your favorite pasta dish, potato dish, chicken dish, and more. Enjoy!


Thanks for reading this post! I hope these recipes will be valuable to you in your last-minute Christmas or holiday meal planning. For those of you who do not celebrate Christmas, you can always make these at any time of the year or save them for a New Year's dinner. Please keep up with Teens Can Cook, Too as the holidays come to an end by following us at all of the social media handles below.


Twitter: https://twitter.com/teenscancooktoo (@teenscancooktoo)
Instagram: http://instagram.com/teenscancooktoo (@teenscancooktoo)
Facebook: https://www.facebook.com/pages/Teens-Can-Cook-Too/113579778813832
YouTube: http://www.youtube.com/channel/UCdiKFPsBoLhYw2W42P7LvKQ 


Stay healthy!

- Madeline  
   

Sunday, December 15, 2013

Theo Chocolate and a Recipe

Hey, everyone! Today's post is a super exciting recap of the team's trip to the Theo Chocolate factory. I also have a delicious recipe at the end for you guys that will be perfect for the holiday season.
 
Awkward hairnet picture with Annika
 
We entered this room with this cute background to learn
where chocolate comes from
Last Sunday, the team took a trip to Theo Chocolate. Theo is a truly incredible place for many reasons. They use only organic, fair-trade cacao beans from a few select locations in South America and Africa. This is much better for the farmers, the environment and for the taste of the chocolate. We learned that the taste of the cacao beans is determined by the soil, so the beans from each location have different flavors because the soil is slightly different in each place. We got some chocolate samples, and I could tell a clear difference in the flavors of the different types of cacao beans. Some were fruitier, some were more bitter, and more.

Roasted and cut cacao beans
 Another really interesting factor of the chocolate making process is that the beans are actually fermented! WHAT? The beans must be fermented and roasted properly before they can be shipped to Theo in Washington. The cacao beans come in a pod that's about the size of a football, and they're surrounded by a white-ish slime inside the pod. Fermenting the beans helps them separate from that slime and attain the chocolate flavor we all expect. Also, the cacao pods range from a greenish color to a purple-ish color. I had always figured that cacao beans grew in smaller, brown pods on a tree, but the pods are actually much bigger. That really surprised me.


We got to walk through the factory to see all of the machinery used to turn the cacao beans into
the chocolate bars we all love. That was very interesting, but my favorite part was visiting the confection kitchen. Theo makes some of the best caramels, ganaches, chocolate bars, and other sweet treats that I've ever tasted. Annika, who is really interested in baking, was so happy when she learned about how they make their ganaches and caramels. My favorite part about the kitchen was their usage of fresh, local ingredients. After seeing the confection kitchen, we all went a little overboard and purchased a ton of chocolate goodies after the tour. We were out of the chocolates in our 12-piece box by the day after the tour. Oops.

Hopefully you just learned a lot about the chocolate making process! Feel free to ask me any questions in the comments or via email, Twitter or Facebook. Now, here's a recipe! I made this last week and it was absolutely incredible. It was very loosely based off of a red rice pilaf recipe that I found on Instagram. I decided to use gourmet flavors that pair nicely with balsamic vinegar. I think it turned out very well, and I highly recommend this recipe as a side dish on Christmas day. Oh, and since this is a blog for kids and teens, I must remind you not to drink any of the red wine that goes in this recipe! Leave that to your parents. ;)

Balsamic Red Rice Pilaf
Serves 6-8

Ingredients
1½ cups red rice
3 small Portobello mushroom caps, gills and stems removed
½ of a red onion, diced
½ of a large red pear, diced
½ cup dried, unsulfured Turkish apricots, coarsely chopped
½ cup pecans, coarsely chopped
2 tbsp. fresh rosemary, finely chopped
1 tbsp. fresh thyme, finely chopped
¼ cup balsamic vinegar
¼ cup red wine
1 tbsp. extra-virgin olive oil
Salt and pepper, to taste

Preparation
1. Preheat the oven to 400 degrees Fahrenheit. Heat 2¼ cups of water in a medium saucepan. Once boiling, add the red rice. Reduce the heat to simmer. Cover and cook for 30 - 35 minutes. Don't peek until the cooking time is up! Remove from heat and fluff with a fork.

2. Dice the Portobello mushrooms. Combine all of the remaining ingredients in a large bowl. Let sit for 20 minutes, stirring occasionally. Pour contents of the bowl onto a large cookie sheet. Bake for 15 minutes, until the mushrooms are tender.

3. Combine the rice with the mushroom mixture in a large serving bowl. Toss with extra oil or vinegar if desired. Adjust the seasonings and serve!

Thanks for reading this post! I hope you enjoyed it. Please keep up with Teens Can Cook, Too updates by following us at all the social media handles below:

Twitter: https://twitter.com/teenscancooktoo (@teenscancooktoo)
Instagram: http://instagram.com/teenscancooktoo (@teenscancooktoo)
Facebook: https://www.facebook.com/pages/Teens-Can-Cook-Too/113579778813832
YouTube: http://www.youtube.com/channel/UCdiKFPsBoLhYw2W42P7LvKQ


Stay healthy!
- Madeline